What destructive testing measures
Destructive testing (DT) loads, cuts, bends or etches a coupon or a production part until it yields, cracks or breaks. The result is a number with a clear physical meaning: tensile strength, yield strength, elongation, impact energy, hardness, fatigue life or a macro section that shows weld penetration and fusion. Because the tested piece is consumed, DT always works on a representative piece, never on every part you ship.
- Tensile and yield testing, typically to ASTM E8 or ASTM A370
- Charpy V notch impact testing for toughness at a stated temperature
- Guided bend tests for weld procedure and welder qualification
- Hardness surveys across weld metal, heat affected zone and base metal
- Macro and micro etch sections to show penetration, fusion and grain structure
- Fatigue, fracture toughness and burst or pressure to failure tests
What non destructive testing measures
Non destructive testing (NDT) finds and sizes discontinuities in the actual part: cracks, porosity, lack of fusion, inclusions, corrosion wall loss, delamination or a hot electrical joint. It does not give you a strength value. It tells you whether an indication exists, where it is, how big it appears and whether it meets the acceptance criteria in your code or drawing. Because the part survives, NDT can cover 100 percent of production or an in service asset year after year.
- Industrial X-ray and radiographic testing for volumetric flaws in welds and castings
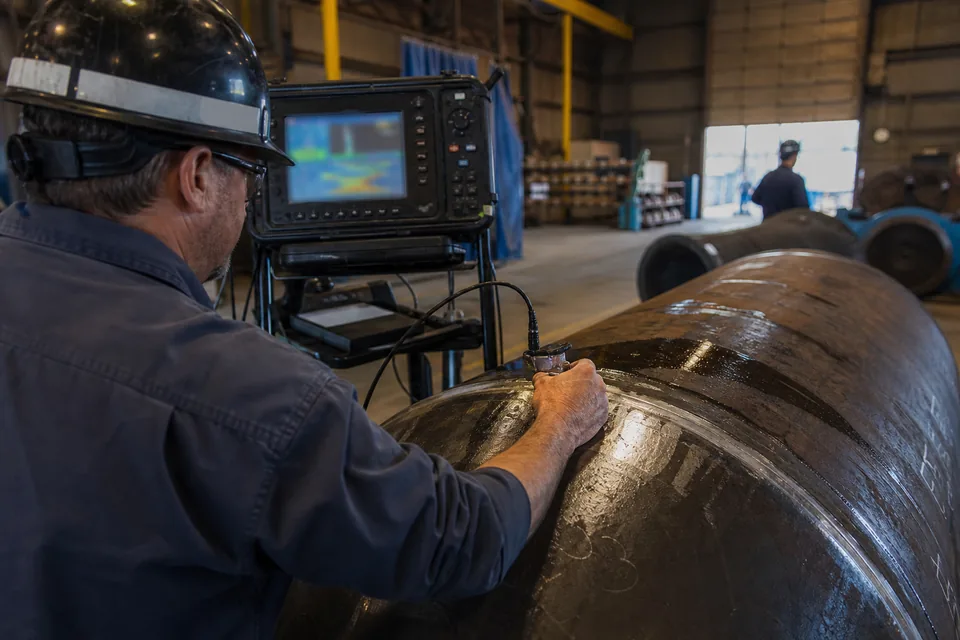
- Ultrasonic testing and phased array for planar flaws and wall thickness
- Magnetic particle inspection and liquid penetrant testing for surface cracks
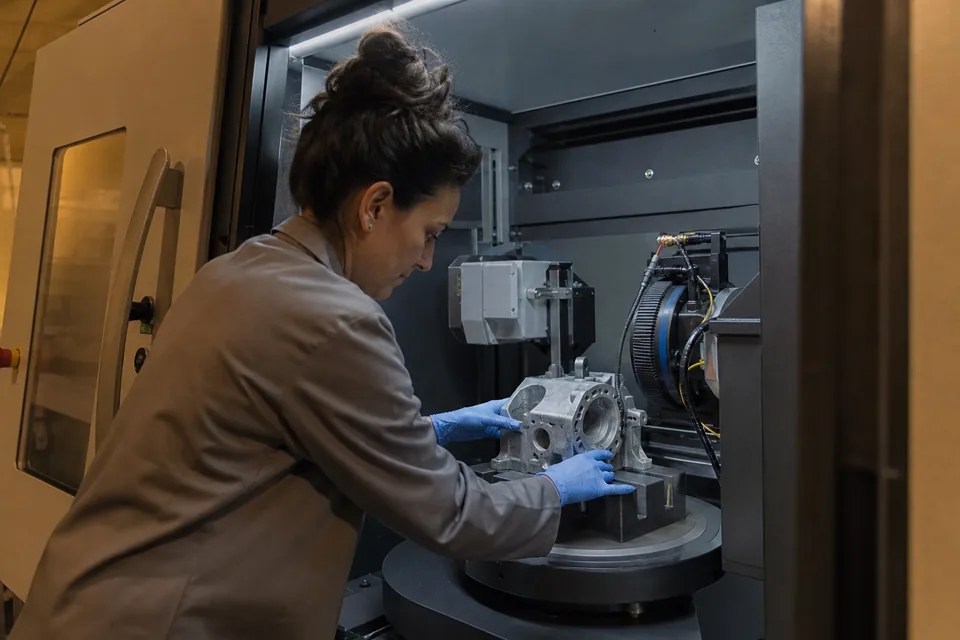
- Industrial CT scanning for full 3D internal geometry and porosity
- Eddy current testing, infrared inspection and borescope inspection for specific access and material cases
Destructive vs non destructive testing side by side
The two families are not competitors. They answer different questions and the table below shows where each one fits.
| Factor | Destructive testing | Non destructive testing |
|---|---|---|
| What you learn | Material properties and failure behavior | Presence, location and size of flaws |
| Part after the test | Consumed or scrapped | Remains in service |
| Coverage | Representative coupons or a few parts | Up to 100 percent of parts or welds |
| Typical use | Procedure and material qualification, lot release, failure analysis | Production acceptance, in service inspection, first article checks |
| Key standards | ASTM E8, ASTM A370, ASTM E23, ASME Section IX bend and tensile tests | ASME Section V, AWS D1.1 clause 8, ASTM E1417, API 570 |
| Personnel | Mechanical test lab technicians | NDT technicians qualified to SNT-TC-1A, ANSI/ASNT CP-189 or NAS 410 |
| Hidden cost | Material, machining of specimens, lost parts | Access, surface prep, mobilization, interpretation time |
Where the line blurs
Some tests sit between the two families. A proof or hydrostatic test loads the real part to a level above service but below failure, so the part survives if it is sound. Hardness testing with a portable tester leaves a tiny indentation that is usually acceptable on the part. A metallographic replica takes a surface impression without cutting. Treat these as their own category in your plan and confirm with the code whether they count as destructive or not for acceptance purposes.
When codes require destructive testing
Destructive tests appear wherever a code needs proof that a process produces sound, strong metal before production starts or after a key variable changes.
- Welding procedure qualification (PQR) under ASME Section IX or AWS D1.1 typically requires tensile and bend tests, plus impact tests when toughness is specified
- Welder performance qualification usually needs bend tests or radiography as an alternative, depending on the code and process
- Material certification relies on mill tensile, chemistry and impact results tied to heat numbers
- Lot acceptance for fasteners, castings or forgings often calls for tensile or hardness coupons per heat or per lot
- Failure analysis almost always ends with sectioning, fractography and metallography
When codes require non destructive testing
NDT is required wherever every weld, casting or asset must be accepted individually or monitored over time.
- Pressure vessel and piping welds under ASME Section VIII and B31.3 call for radiography or ultrasonic examination at a defined percentage
- Structural steel under AWS D1.1 specifies visual inspection on all welds and RT or UT on complete joint penetration welds where the contract requires it
- Aerospace castings and machined parts follow drawing callouts and specifications such as ASTM E1417 for penetrant and ASTM E1444 for magnetic particle
- In service piping and pressure equipment follow inspection codes such as API 570 and API 510 with thickness and corrosion monitoring
- Electrical distribution owners often use infrared surveys to support maintenance programs referenced in NFPA 70B
How to choose between destructive and non destructive testing
Start from the decision the test supports. If the decision is about a process or a material, you usually need destructive data. If the decision is about one specific part or asset, you need NDT. Then check four practical questions before you write the RFQ.
- Does the code or customer specification name the test? If yes, that settles it.
- Can you afford to lose the part? A single large casting or an installed asset rules out DT on the real item.
- Do you need a number or a map? Strength and toughness need DT. Flaw location and size need NDT.
- How many parts? DT scales with coupons, NDT scales with parts and access time.
A typical mixed test program
In practice the two families run in sequence. A new casting design or weld procedure gets destructive qualification first, then NDT for every production part, then occasional destructive audits to confirm the process has not drifted.
- Qualification: cut and test coupons from first welds or first castings, section a few parts, confirm properties
- First article: run industrial CT scanning or radiography on early production to compare against the qualified parts
- Production: apply the agreed NDT method at the agreed sampling rate, with written acceptance criteria
- Audit: section or tensile test a small share of parts at a fixed interval or after any process change
- In service: switch to NDT methods that work on installed equipment, such as UT thickness, infrared inspection or drone surveys
What destructive and non destructive testing typically cost
Cost depends on the standard, the material, the number of tests and how much specimen preparation the lab must do. The bands below are typical ranges for US labs, not quotes, and your price can fall outside them.
| Test | Typical range, not a quote | Main cost drivers |
|---|---|---|
| Tensile test, one specimen | $100 to $400 | Machining, temperature, extensometer, standard |
| Charpy impact set of three | $150 to $500 | Test temperature, notch machining |
| Weld procedure qualification test set | $800 to $3,000 | Number of specimens, impact tests, macro etch |
| Macro or micro section | $150 to $600 | Cutting, polishing, etching, photos |
| Liquid penetrant or magnetic particle, per hour on site | $75 to $150 | Mobilization, report, minimum hours |
| Radiography of welds, per shift | $1,200 to $3,500 | Source type, film or digital, crew size |
| Industrial CT, per part | $300 to $2,500 | Part size, voxel size, analysis and report |
Notice the pattern. DT is cheap per specimen but costs you the material, machining and lead time. NDT costs more per hour but covers real parts and leaves them usable. For a deeper breakdown see NDT inspection cost and industrial CT scanning cost.
Common mistakes when planning tests
Most budget overruns in test programs come from a few avoidable errors.
- Ordering NDT without written acceptance criteria, so the lab reports indications but nobody can say pass or fail
- Assuming a clean radiograph proves strength, when only destructive tests give you mechanical properties
- Cutting specimens from a location that does not represent the worst case in the part
- Skipping a qualification step and then sectioning production parts to settle a dispute
- Choosing a method by habit instead of by the defect you worry about; read types of non destructive testing before you default to the method you know
Checklist for your next test request
Put these points in writing before you contact any lab. They shorten the quote cycle and reduce change orders.
- Part or asset description, material and condition (as cast, machined, welded, coated)
- The decision the test supports: qualification, acceptance, in service fitness or failure analysis
- Governing code, specification or drawing note and the acceptance criteria
- Number of parts, coupons or welds, and the share that must be tested
- Required personnel qualification, for example ASNT Level II for interpretation and Level III approval of procedures
- Required lab accreditation, such as ISO 17025 scope for the specific test, or NADCAP for aerospace special processes
- Report format, images or data files and the deadline